December 26th, 20125 Less Known Tips For Achieving Excellent Winter Photos
Photographers, both amateur and professionals, who are lucky enough to live in climates where winter is accompanied by extraordinary snowy landscapes every year, have the chance to take a great set of pictures this season. The all-white streets, forests and fields provide an excellent opportunity for artistic snapshots that neither the first sunny days of spring nor the gloomy, melancholy of autumn can rival.
However, in order to attain the full dazzling effect of winter photography, you will need to follow a different set of guidelines than for any other season. In fact, a number of strict rules that govern the art of photography do not apply during winter, because of the unique lighting and reflection properties of snow. Let’s find out how you too can transform a dull winter photo into a veritable masterpiece.
1.Drop the dark vignette, go for the white one!
In the event that you are not familiar with the concept of vignette, then you should know it constitutes the darker borderline encompassing the central section of the photograph for the purpose of drawing the eye towards the middle. More often than note, the delimitation conferred by the darker vignette is an excellent way to emphasize the central component of the photography. The dark colored vignettes work very well for sundown photos taken in summer and autumn, evidently due to the characteristic lighting and colors of these snapshots.
However, for winter pictures, the darker shadowy borderline creates an unpleasant effect on the eyes, particularly because it appears out of place due to the high contrast between it and the white snow. A far better solution in this case would be to apply white or at least very light ones to underline the central section of the photo, conferring it the “eye of the storm” effect. You would be surprised how much this simple, more or less intuitive task can improve your picture.
2. Contrasts and colorization can work miracles
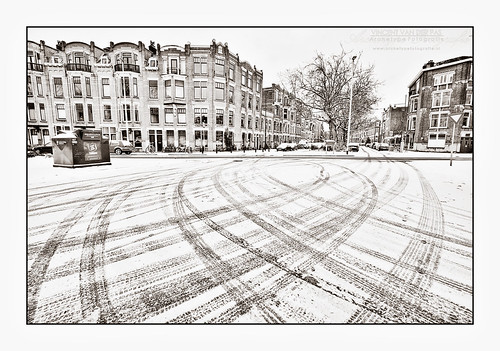
Even if you don’t normally like to tinker with the snapshots in editing programs, winter photographs have a lot to benefit from enhancing contrasts and colorization. By default, snow snapshots have a predominant gray hue and the contrast is very much diminished. However, a characteristic that you could utilize in your advantage consists of the “snow streaks” that, when accentuated, confer the image a painting-like texture. This technique works even better when you are retouching pictures of snowstorms. On a side note, you won’t achieve the same positive results by applying contrast/color oversaturation on non-winter photos.
3. Choose a matching frame for the picture
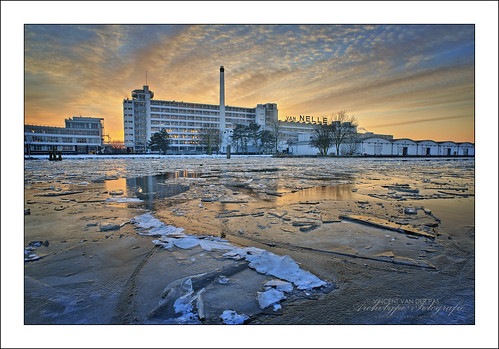
Integrating the picture in a matching frame that expands it is the next logical step following the application of the white vignette. In essence, a white picture frame encompassing a white vignette picture fusions the two components, creating the impression that they are a single element and not distinct parts. At the same time, the white frame boosts the effects of the vignette considerably.
4. The winter scenery gains certain mysterious and menacing qualities at/after sundown
Most people view snowy landscapes as an expression of the utmost serenity, but professional photographers know that there are two sides to every story. True, you can achieve calming snapshots on winter backgrounds quite easily, but only during the day when the sun is shining in the sky and the rays reflect on the surface of the snow. At dusk and afterwards, the snowed landscape is shedding the coat of tranquility, unraveling images that evoke feelings of mystery and unspoken perils. And great picture opportunity! The effects are the result of the increasing contrast between snow and the scenery in the absence of natural light. Now is the perfect time to take the kind of picture that will send shivers down the viewers’ spine.
5. The HDR is one of your greatest allies this time
HDR or high dynamic range imaging is a conglomerate of techniques – mechanical, optical, digital – that relies on the utilization of exposure to maximize the definition of objects at different distances, angles, lighting conditions, etc. HDR is less often employed for spring/summer/autumn pictures, because it conveys a sense of unrealism of the colors. On the other hand, the black/grey/white tones and the absence of texture proprietary to winter shots make it an excellent method in this case.
Attached Images:
- License: Creative Commons image source
- License: Creative Commons image source
- License: Creative Commons image source
Matt Moogan is a copywriter, blogger and webmaster with xerodigital.ca. Matt loves photography and when he is not clicking or writing, he may still be preparing about the next wedding his team would capture.


